Are you looking for a way to record and save Skype video calls so that you can refer to them later? As you’re probably aware Skype doesn’t have that feature, which is unfortunate considering just how useful it could be to save personal conversations, business meetings, interviews and other types of video calls that you may place.
Recording Skype Calls with Movavi Screen Recorder
On the bright side although Skype may not let you record and save video calls, you can use a screen recorder to do so nonetheless. In fact if you use Movavi Screen Recorder you’ll be able to quickly set it up and start recording – all within a minute or two.
How to Record a Skype Video Call
Learning how to record Skype calls is really straightforward using Movavi Screen Recorder. If you’d like to get started just open Skype and get ready to place the call, but launch Movavi Screen Recorder before you do.
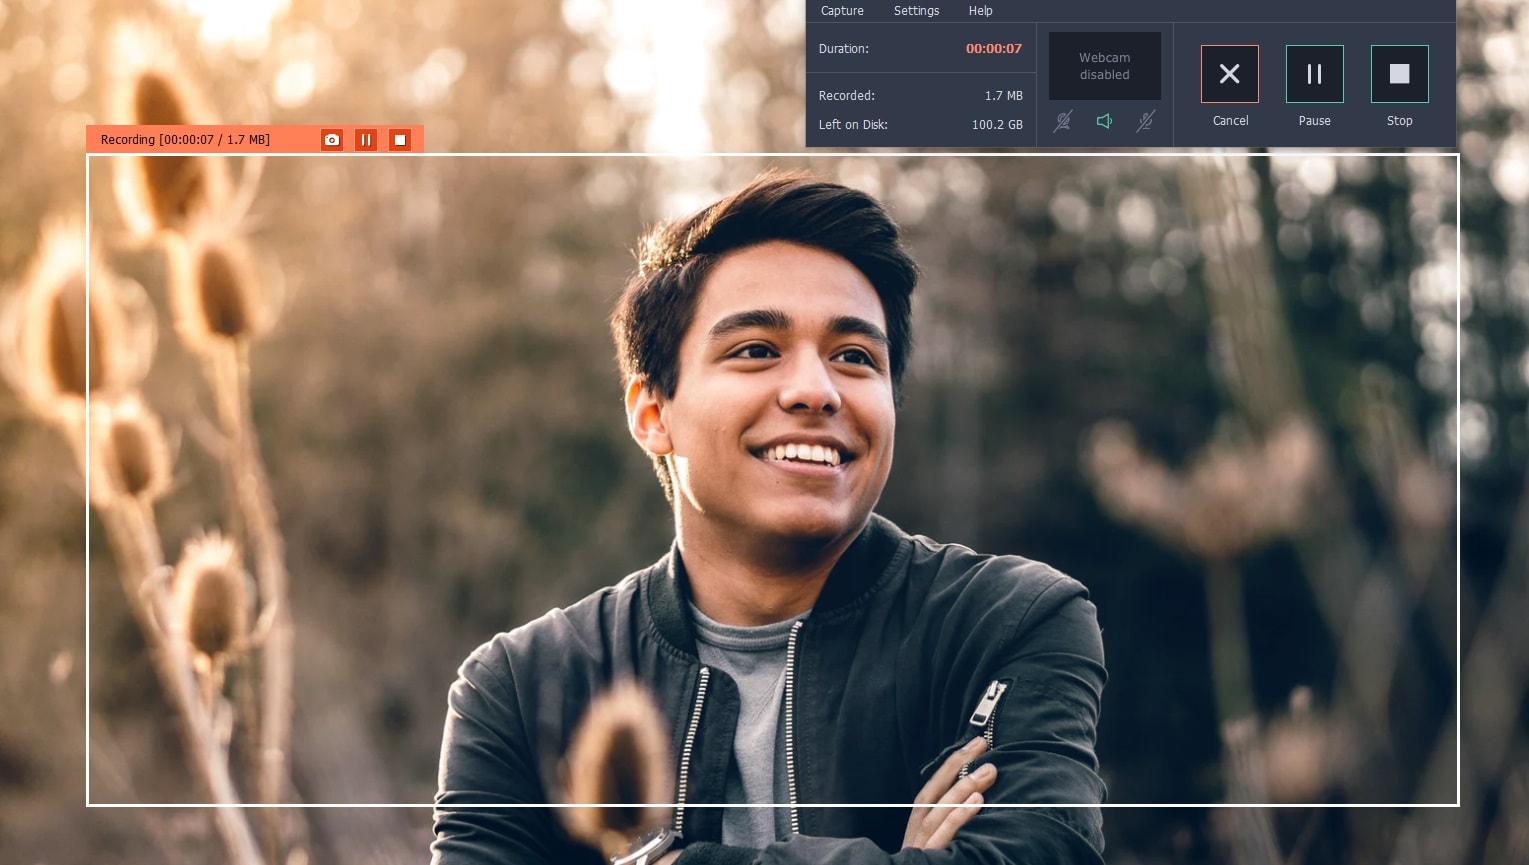
As soon as you launch Movavi Screen Recorder, click on the open Skype window to select it – so that it will be recorded. If you prefer you could use the mouse cursor to draw a frame over the area that you want to record, or use one of the presets on the interface that will appear later.
Next you should look to the interface and make sure both the ‘System Audio’ and ‘Microphone’ icons are highlighted. If they are Movavi Screen Recorder will record both sides of the conversation, but if they aren’t you should click on the icon to toggle it so that the audio is recorded properly.
Don’t Miss: How to Stay Secure Online while: Internet Security Tips
Assuming that is done, you can start recording at any time by pressing ‘REC’ and begin your Skype video call once you do. After your conversation is complete and the video call is over, click ‘Stop’ and Movavi Screen Recorder will automatically save the video as an MKV video file and open up a ‘Preview’ window.
In the ‘Preview’ window you can go over the recording and trim out any parts that you may not want to keep. After you’re satisfied, you can click ‘Save As’ and select a format to save your video. If you don’t want to make any changes to the video but want Movavi Screen Recorder to save it in a format other than MKV then you should click ‘Save As’ as well.
Also Check: How to Download Songs from YouTube
While that covers everything you need to know to record a Skype video call using Movavi Screen Recorder – you should definitely explore its other features too. With them you could adjust the volume levels, set the frame rate, capture keyboard and mouse actions, automate the recording, and more.
Simply put Movavi Screen Recorder will provide you with a versatile set of features that you can use to record and save anything that you want from your screen. As you become more familiar with it, you’ll be able to not only record Skype calls but also save online streaming videos, create video guides, capture livestreams, and much more.
Also Check How to Convert Video Formats using the Movavi Video Converter
So, this was all for today. We hope that now you have understood how to record a Skype Video Call with the Movavi Screen Recorder.